Thursday, February 24, 2011

it's easy being green...

...or so it seems lately.
I LOVE holidays and St. Patrick's Day is no exception, but I only had one thing for the holiday I realized when I went to pull it out. (yes, a gold leafed plate with coins and shamrocks...that's it).

I didn't really decorate for St. Patty's Day because Easter comes so quickly after Valentine's I usually just jump it...but probably not anymore thanks to some fun things I've made.
As usual...some crafts come from my (sometimes) brilliant self, and others are inspired by U. So here's what I've got so far. It was been so fun!
I love banners. They are so cute. This one was done with my cricut using the "Blackletter", "Circus", and "Lovely Floral" Cartridges. I tied it with strips of poly satin. It is so much cheaper than ribbon and it looks great!

I am so in love with these scallop garlands. This pattern was designed by my friend and is from her cute blog here. The two changes I made were that I did not space my scallops an inch apart. I like the way they look right next to each other. I also just made my own bias tape instead of buying some. That way I was able to choose the width and length I wanted. I loved this project because it was so easy and I just used material I already had...so it didn't cost a penny!


The link for the pattern is here

Once I saw this I knew I had to do it. So I got out what I had laying around that I thought would make do...and NO I did not have a canvas laying around. I used a piece of MDF left over from my garage shelving, I doubled up some white material I had and then I stapled it on the wood.
I then used the one stamp set I own and craft paint for the letters. I was VERY happy with how it turned out. In fact I am pleased to say that I like mine more! :)

This was also just inspired by my "i{heart]u" burlap sign I did for Valentine's Day. I figured I could do one for St. Patrick's day too and I love it. I used the "Zooballoo" and "Paper Dolls Dress Up" Cartridge to cut out freezer paper. I used the inverse and then ironed it on the burlap and used more of a "dry brush" technique for the aged look. I love it, but still need to add the next layer. Will post update when that happens.

This "kiss me" is just made from chip board letters I picked up at Hobby Lobby (love that place!). I painted them the color of the glitter I was using, then mod-podged the front and covered the letters with glitter. I then just hot glued it on to a board I painted black and had a groove run through the middle to help hold up the letters. I stole a little shamrock from my amazing gold plate :) as a little accent and I love what the darker green does for it! This was a very fast and cheap project that I think looks great.

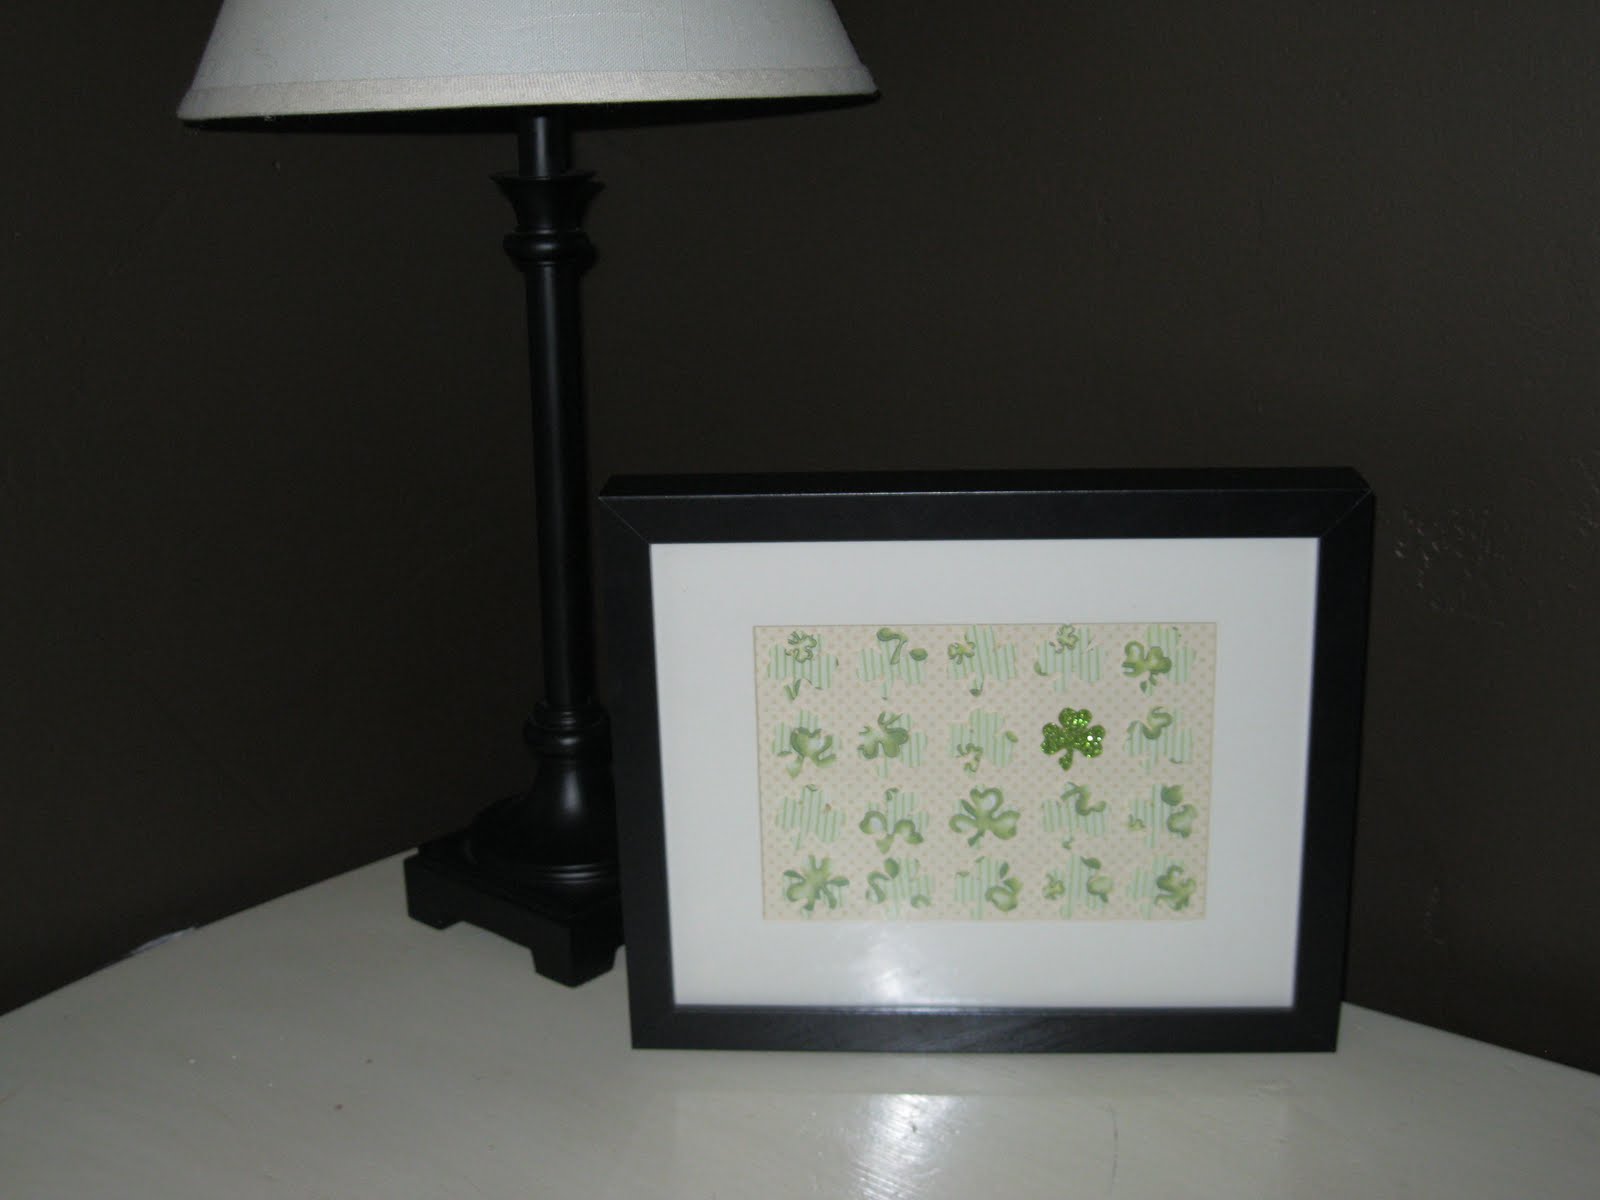
And lastly my "insect" shamrock art. I loved the one I did for Valentine's Day, so I thought I'd give it a try for patty's day too. I am not in love with the print I did the shamrocks on, but my choices were limited. If I find something I LOVE later I might take the time to change it, if not, I like it enough to keep it.

Still on the list are:
1. Attempt to mod-podge a candle using st. patty napkins
2. A table runner with mini scallops on ends to match my garlands
3. A frames shamrock tree
4. "Keep Calm and Pinch on" and "Kiss Me I'm Irish" printables
5. Irish Cookie pops with tags
6. Paper Globes
7. Green Menu for the big day
(oohh, 7 more things to make. Lucky number!) :)
Here's hoping I get to all this fun stuff...and the house work too...but if I don't get to the house work.....! :)

Wednesday, February 2, 2011

boy's bathroom

I redecorated my boy's bathroom about a year and a half ago. It was just navy and red with lighthouses...not very original, and no personal touch, so I was happy with the change. The best part about it was that all it cost was a few hand towels in different colors and a few frames.
The whole idea came from something I saw on a blog here. I water color with my kids a lot and this activity seemed perfect. I loved the idea of using their art to decorate with. All I had to do was cut out the shapes I wanted and the paste them on to a white piece of paper and then write on them. I picked up some frames to unite them all, and there you go!
The little felt creatures were so fun to make. I just cut them out from felt scraps I had. They were perfect to cover up the little lighthouse hooks I had.
This bathroom still makes me happy to this day....and that's what I call good design! :)
Hope you like it too!


Thursday, January 27, 2011

craft night-valentine's day

I have been in the lovey-dovey mode for a while now and am getting very excited about Valentine's Day. I have never thought it to be a sad holiday, but then again, I am a little holiday happy.
So I co-hosted (with Aymee of course) my first craft night and it was a blast. We made Valentine's Day banners. Here's a taste of mine in the works and then done followed by some some yummy treats, and some of last year's and this year's projects.


We of course had to have cupcakes. The topper is just a 1' heart cut out on my cricut using the "Plantin School Book" Cartridge. I then hot glued them on tooth picks. I added glitter glue around the edges of some, but then stopped. I didn't love it.

These are red-velvet cake cookies Aymee made. They were inspired by Bakerella. If you don't know her blog yet, you'll want to. It is amazing. You use a cake mix and add only 2 eggs and 1/2 C of oil. Then roll them and plop them in powdered sugar. They will crackle out like that when they are cooked. Taste great, easy to make, and cute as ever!

Our party favors. They were the cutest little heart candles. The tag is embossed. A cute twist instead of just writing on it.

I took a bunch of old hearts and 2-toned painted them so that when sanded the under color would come through. I then measured them for vinyl letters and used my cricut and the "Lyrical Letters" font for the words. I really like how they turned out, I just have to figure out what to do with them now! :)

I love little things in frames for holidays. Here is one I did last year with just things I had around.

These were done with my cricut and the "Child's Year" cartridge. I absolutely LOVE them!


This was done of my cricut as well, using the same hearts that I used for my cupcake toppers. The edges of the printed paper are inked. The glitter heart is just cut our of glitter paper.

Last year when I up dated these letters with glitter(they were hideous before but only $.25 at a garage sale)...they inspired...

....these. (sorry, I don't know why the picture is sideways)They were just to clusters of very out-dated painted hearts. Your local thrift store is a great place to pick these kids of things up. Up-dating is not hard, especially when you can buy them for like $.50 each.

I was in a huge burlap mode last year and came out with some really cute things. This heart is just a long gathered piece of burlap on a coat hanger that is bent into a heart shape.

This was made with scraps of burlap and wood I had. I just nailed them on. I used my Cuttin' Up Cartridge on my Cricut for the letters. Freezer paper makes a great iron on stencil (as long as you used the shiny side down!).

I love these matching banners. They are over mirrored window's in my kid's toy room.

Wednesday, January 19, 2011

baby blessing party

It was so fun to put on a girly party. And I went all out. I didn't have a budget to use for it, so I used things I had, with the addition of about $4 in tissue paper. My sweet family pitched in with the food and of course Aymee helped me pull the whole thing together. It was a great success. From the decor, to the food, to the people, to the special occasion, I will remember this day forever.
The pom-poms are a Martha Stewart creation that I just love. I saw them at my neighbors and just fell in love...plus they are SO easy to make.

I am not a huge lace fan, but maybe after this party I will become one. I LOVED the way the lace looked on the banner and continued that on the tables. I loved the look of the pink under it and was very grateful for a mother-in-law who always has the stuff I need!

The banner I made was with my cricut machine using the cartidge Sugar and Spice. The Hand/footprint was done by Amy at Tiny Touches. Photography was done by Bella Photography. They were FABULOUS.

One of my main secret desires was to have a dessert table. And we did! :) I loved it. There were so many yummy treat. I buggy is from a cricut cartridge, Sugar and Spice -created by my good friend and available at Wal-Mart. The cupcake toppers were cut and stamped with Stampin' Up things that my sweet neighbor let me borrow.
The cupcake stand and the tip used to make the swirl were found a Joann's. Very affordable and I just love them...I didn't have to buy mine though, my mom got them for me for my birthday and I was so excited about them. This was their debut and they did a great job! :) Cupcakes are so in right now and I now know why!

This has been the BEST drink dispenser ever. I got it at Costco and if they ever come back I'm getting another one.

Tuesday, January 18, 2011

homemade (just like her)

Little girls are so fun to dress up. I have had fun with my new little one and have made a few cute outfits for her.
This was her first outfit for church. It was fun to make. I consulted with my good friend Aymee, who is a crafty queen. (and yes, her outfit was made out of her left over material from her room!)

I got this cute outfit from Children's Place and had to make a little cupcake shirt to go with it!

This one was made with iron-on jewels that I got from Wal-Mart. I was a little wary of them at first, but they haven't come off and I am loving them. Easy, cheap, and they stick! I thought it would be perfect for her ruffled jean skirt.

And here is her blessing dress that my mom made her, complete with french knots! It turned out so beautifully. I LOVE IT! I made a cute headband to go with it, and the bracelet was supplied by Chloe's girl cousins.

christmas on a budget

I saw the cutest nesting dolls at a children's boutique and wanted to get them for my little girl, but with a price tag of over $25 I wasn't about to snag them off the shelf...so what does any mom on a budget do...she finds a way to still get want she wants.
I picked up some wooden nesting dolls at Hobby Lobby for $4 and painted them to look like the ones I loved. After I painted them I added a coat of clear gloss spray paint and it made all the difference.

Not bad if I do say so myself! :)

This is the tool belt I made last year for my son. I got the idea from here.

chloe's room

Let's start with what has been my big on-going project since welcoming my beautiful baby girl. I didn't know her gender until her birth, so it has been a fun whirlwind trying to pull it altogether.
It's been done for awhile now, but I did just finish the mobile. The bumper is next week. Let's hope it turns out. I'm excited for it.
Some notable things in the room:
The art piece is a watercolor of Chloe's Great, Great Grandmother S. The rocking chair is an antique given to her by her Grandma T. The recliner is an antique from her M side. The dresser was given to us by a neighbor who was moving, I just antiqued it and added pink nobs.
Everything was made by myself and my mom. The lamp shade was just white until recovered. The doll was inspired by a doll a saw at a craft show(I wish I knew who to credit). The mobile is inspired by Natalie, who introduced me to lollipopworkshop, and the inspiration for this post was Alana, who I ran into at Robert's last night! :) Funny how you can find inspiration in the most random of places at the most random of times!