Showing posts with label valentine's. Show all posts

Sunday, February 19, 2012

iphone charger holder

I saw this pretty thing on pintrest and knew I had to make one. I decided to make one for my friend and sister for valentine's day. I love how they turned out.
It is made by simply modpodging fabric onto a cut out from a lotion or baby shampoo bottle. You plug the cord in through the hole and simple hang this holder on the outlet with the phone in it. So clever, eh?! :)


The edges were a bit tricky to have even and flat. Sand paper did the trick. It was amazing how smooth it made it.

Now I just have to get through some more shampoo so I can make myself one! :)

Tuesday, February 14, 2012

we got mail

I finally got around to making our Valentine's Day mail boxes. They were much more of a hit with my kids, much more than I thought they would be. My kids LOVED that they got "mail". They kept going back to their mailboxes to get out a treat or toy. I also liked them because it kept me restricted to size and amount. I ALWAYS go over board when I don't need too.
I had to add their little nicknames on the side for a cutesy affect.
I found the idea here.


Monday, February 13, 2012

red velvet cookies


Need a last minute goody for someone?
I got this great trick/recipe from Bakerella.
1 box cake mix
2 eggs
1/2 C oil
Mix and roll (plop) in powdered sugar
bake 350 for 8-10 min
Enjoy!

Sunday, February 12, 2012

burlap i {heart} u


I used scraps of wood I had for this beauty. I simply cute squares of burlap slightly smaller and used freezer paper for my stencils. I nailed the burlap on the blocks, glued them together and tyed the twine around it. I love how it turned out.

Saturday, February 11, 2012

burlap heart wreath

Cut strips of burlap and sew them together to make the strand as long as needed. Run a gathering stitch through the length of it. Gather the material and hot glue it onto a wire hanger that you have pre-bent into a heart form. Hand and enjoy!:)

Friday, February 10, 2012

burlap banners for valentine's day

Just cut your burlap into triangles, use freezer paper as your stencil, iron them on, paint over them, let dry, remove freezer paper, then glue on a strand of twine. Yes. It's that simple. And that's the way I roll! :)
These hand on mirrored windows in my kids playroom. They make me happy!

Thursday, February 9, 2012

conversation hearts supersized

My mom gave me a pile of random hearts that she has picked up at thrift stores. I was so excited! They weren't pretty by any means but I was excited at the challenge of making them into something.
My crafter-in-crime, Aymee, and I got to work and came up with these cuties. I LOVE how they turned out. Paint, sandpaper, and vinyl. Doesn't get much easier than that!

To get the two-toned paint look simply paint your project on color (the one you want to be your undercoat). Let it dry. Then paint your desired color over it. Sand lightly in the areas you want the under color to show through.

Wednesday, February 8, 2012

friendly valentine's

I've loved all the millions of cute ideas I've found on various blogs and on pintrest. I finally decided to go with the bouncy ball one. Fast, cheap, and fun. I don't know a kid who doesn't love to chuck those things around and die giggling as they go crazy.

Here's my version:

Tuesday, February 7, 2012

love what you have

I went on a scavenger hunt around my house looking for red items...and this is what I came up with. Now it's your turn. Have fun.

Monday, February 6, 2012

insert {hearts}

My crafter-in-crime came up with this one and I had to make it. It's just hearts glued on with glue dots. The edges are inked and that makes all the difference.
If you plan on making one, make sure to position the hearts while your paper is in the frame. That will save you a lot of heart ache (pun intended)!

little bits of love

My friend spotted these babies in the dollar bins at target. I didn't think they were that cute until she turned me on to the idea of a little vinyl.

I have to agree. I little makes a huge difference. I think they are so cute and can't wait to put some little goodies in them for my little ones.

Saturday, February 4, 2012

valentine's day + glitter = giddy

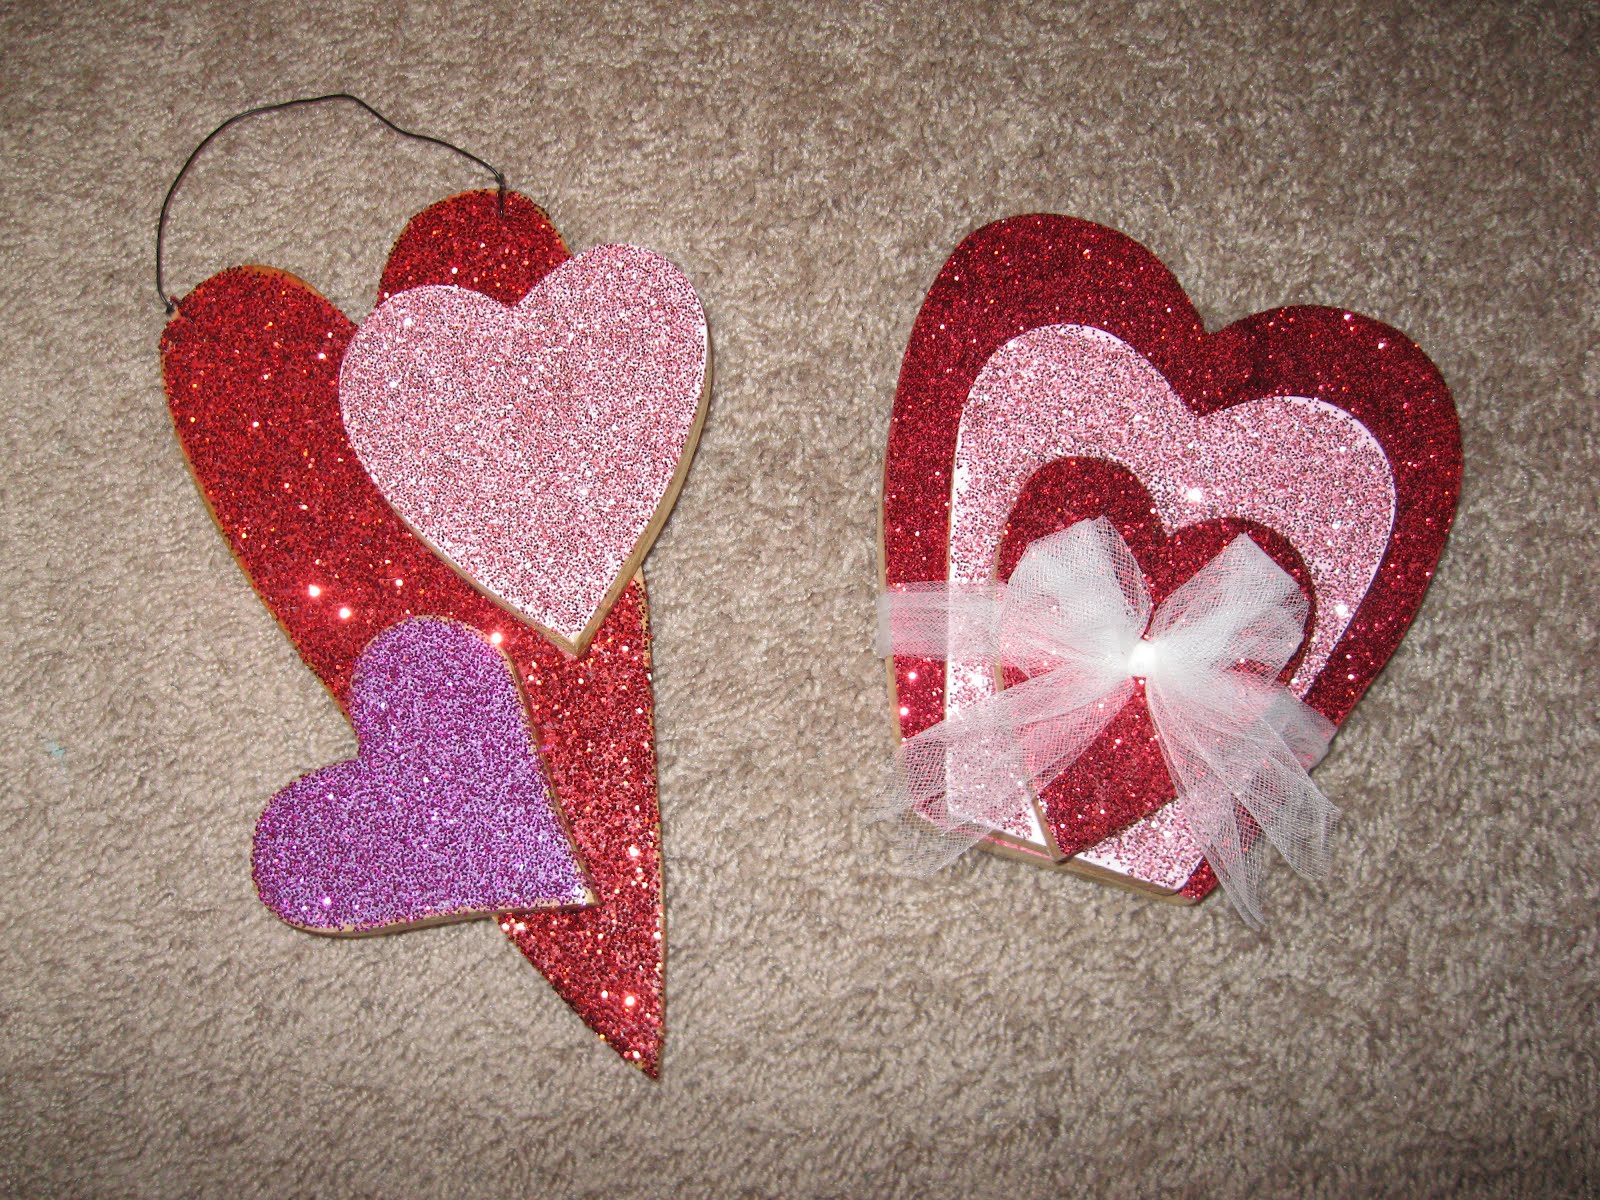
I love glitter. Valentine's Day is just an excuse for me to be able to use it like crazy! I first had fun covering a bunch of ugly hearts from the thrift store. Glitter is guaranteed to make everything look better! I also used in on some letters I picked up at a garage sale. Trust me, they weren't cute before!


Glitter paper is a must. I LOVE LOVE LOVE it. Cutting out these silhouettes was so easy and I just love how they turned out.

Thursday, January 27, 2011

craft night-valentine's day

I have been in the lovey-dovey mode for a while now and am getting very excited about Valentine's Day. I have never thought it to be a sad holiday, but then again, I am a little holiday happy.
So I co-hosted (with Aymee of course) my first craft night and it was a blast. We made Valentine's Day banners. Here's a taste of mine in the works and then done followed by some some yummy treats, and some of last year's and this year's projects.


We of course had to have cupcakes. The topper is just a 1' heart cut out on my cricut using the "Plantin School Book" Cartridge. I then hot glued them on tooth picks. I added glitter glue around the edges of some, but then stopped. I didn't love it.

These are red-velvet cake cookies Aymee made. They were inspired by Bakerella. If you don't know her blog yet, you'll want to. It is amazing. You use a cake mix and add only 2 eggs and 1/2 C of oil. Then roll them and plop them in powdered sugar. They will crackle out like that when they are cooked. Taste great, easy to make, and cute as ever!

Our party favors. They were the cutest little heart candles. The tag is embossed. A cute twist instead of just writing on it.

I took a bunch of old hearts and 2-toned painted them so that when sanded the under color would come through. I then measured them for vinyl letters and used my cricut and the "Lyrical Letters" font for the words. I really like how they turned out, I just have to figure out what to do with them now! :)

I love little things in frames for holidays. Here is one I did last year with just things I had around.

These were done with my cricut and the "Child's Year" cartridge. I absolutely LOVE them!


This was done of my cricut as well, using the same hearts that I used for my cupcake toppers. The edges of the printed paper are inked. The glitter heart is just cut our of glitter paper.

Last year when I up dated these letters with glitter(they were hideous before but only $.25 at a garage sale)...they inspired...

....these. (sorry, I don't know why the picture is sideways)They were just to clusters of very out-dated painted hearts. Your local thrift store is a great place to pick these kids of things up. Up-dating is not hard, especially when you can buy them for like $.50 each.

I was in a huge burlap mode last year and came out with some really cute things. This heart is just a long gathered piece of burlap on a coat hanger that is bent into a heart shape.

This was made with scraps of burlap and wood I had. I just nailed them on. I used my Cuttin' Up Cartridge on my Cricut for the letters. Freezer paper makes a great iron on stencil (as long as you used the shiny side down!).

I love these matching banners. They are over mirrored window's in my kid's toy room.