Tuesday, May 1, 2012

family table

I have been wanting to "fun up" my house for a while now.  I want to make sure that it is a place where my kids feel happy, comfortable, and welcome.  Where their toys, dirt, and artwork fit right in.  I am done with the "model" home feel.  So here's what we ended up with.
The kids and I love it.  We have been so much better at having family dinners at the table now.  Our old counter height table was just too big, fancy, and uncomfortable for a family table.  I love that I can just touch this one up when we get anything on it (which we already have done!). :)
I got the table off KSL, stripped it and painted it.  The chairs were from Ikea.  I just sanded those down too and painted them up.
The little basket I built and stained all by myself!  So much for overpriced baskets at the store! :)  Hobby lobby had one just smaller for $25.  Mine cost $5.


My wall decor is not quite done yet, but here's what I have so far.  My kids monograms ($12.  Letters from Hobby Lobby, fabric from WalMart), a duck for Chloe (she's obsessed with Ducks for some reason.  Can't get enough of them!), and clouds for my dreamer/imaginer, James.  I just used my cricut to cut vinyl.  Then I sprayed over it.  I am still coming up with how Sam will be represented.  We all know that nothing but trains exists in his world, I just don't want to be so literal.  It's been so fun and they love their art.
The hooks for their coats are awesome.  I had fun making them and putting them together.  Just a 1x8 board cut and stained.  Hooks mounted on front and the back is drill with screw holders.  I just need to build the little bench seat under them now to pull it altogether.
I love creating and developing skills.  It gets my mind and body going.
These are the fancy red stools I painted up.  I found just the ones I wanted for a great price on WalMart.com and stripped them.  They look so much better red!

Sunday, April 29, 2012

no sew felt flower pillow

So I saw this amazingly cute felt flower pillow at Hobby Lobby the other day and decided I wanted to make one.  So here's what I did.  I just cut pedals out of scraps of pinks that I had and then hot glued them on to a pillow.  It was so simple and didn't cost me a thing.
The best part about it was when my daughter woke up the next morning and saw it.  She squealed and immediately went and put her head on it.  I guess it's hers now! :)


Tuesday, April 17, 2012

chore chart tutorial

I finally decided on how I wanted to do my kids chore charts.  I don't know why it has been so hard for me to commit to one.  It's just a chore chart!  But those are the types of things that I get stuck on.
So here goes it.  It was simple, cheap, and quick.  All you have to do is know how to color, cut, and glue.  And all the child needs to be able to do is tell what the picture is of.  It only costs about $5 (plus glue cost-I already had it).  And you can finish it while you watch a movie.

You will need:
Crayons
White Card Stock
Scissors
Black Sharpie Pen
E-6000 Glue
Clear Rocks
Magnets
 Trace your rock with your sharpie.
 Draw a picture to describe the job.  Remember that you will be cutting on the inside of the line.  Allow your picture to fit.
 Color your picture.  I have found that two tone colors have a nice effect and show through the rock well.

 Make sure to keep your rocks in order since each is shaped differently.
 Cut out your circle and put a dab of glue on the middle of the picture.  You will use the pressure your put on the rock to spread the glue until it covers the whole picture.
 Allow time to dry.
 When dry flip them over and use the same gluing method for the magnets.
 Be sure to lay them far apart when drying the magnets so they don't attract.  This will cause problems. :)
 When dry, place on magnetic board.  I simply wrote on mine with an EXPO marker.  The jobs that don't have to be done that day are next to the name.  The ones that need to be done are in the "do" pile.  When a job is completed it is simply slid over to the "done" side.
Jobs pictured:
Scripture Reading
Get Dressed
Make Bed
Feed Fish
Homework
Pick up Toys
Brush Teeth
Say Prayers
Take out Trash
Dishes
Set Table


Jobs not pictured above:
Dust
Vacuum
Sweep
Mop
Laundry
Still need to make:
Snow shovel
Weed

Monday, April 9, 2012

Easter Lesson

I made this little Easter Lesson for my kids. It was great. I drew the pictures for the points I wanted to discuss with my kids.
1. Jesus was born on Earth
2. His life was dedicated to teaching and setting an example
3. Not everyone accepted him. He atoned for our sins and died on the cross
4. He was buried in a tomb
5. The tomb was empty 3 days later because Jesus resurrected
6. Many witness saw the resurrected Christ. We will all live again thanks to Jesus overcoming death for us
They took turns opening the eggs and getting the drawings out. We then matched them to the pictures and discussed the story. It was a huge success and I am so thankful we did it.
It was a powerful experience to remember, study, share, and teach about the plan of salvation.


Friday, April 6, 2012

easter baskets

I finally finished the kids Easter Baskets. I LOVE how they turned out. I saw this idea of using fruit baskets on pintrest and knew instantly I wanted to do it. My kids had fun choosing their own ribbon to make them "theirs".
The baskets were only $3 each. Then $2 (each) for ribbon and a can of $3 spray paint and I was done. Not bad for $12! I love that they are unique.


Monday, April 2, 2012

weather station

At the beginning of the year we read a lot of books about weather and studied the different types of weather that we experience. The kids had fun making these weather plates so that we could display the type of weather we have each day.
Anytime you make what you learned in to something you understand it better. We had so many different conversations about each type of weather as we made these.


Sunday, March 25, 2012

primary post

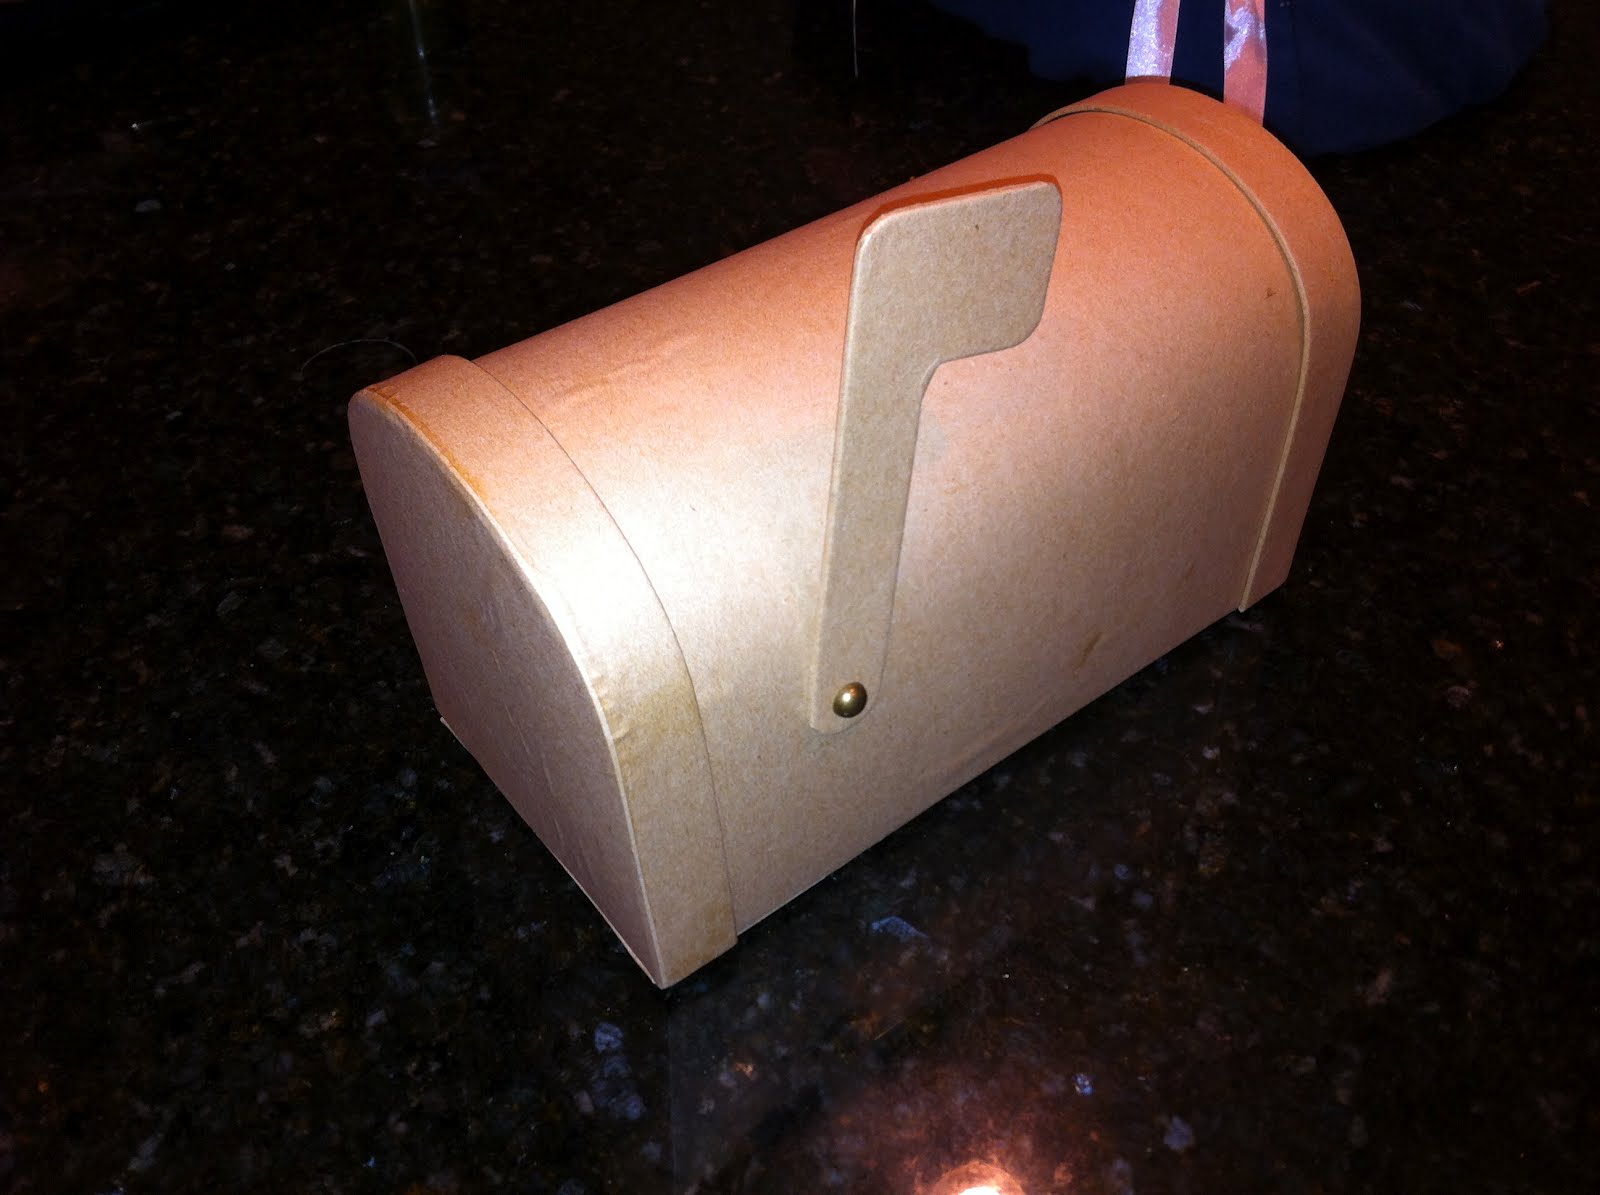
I knew once I posted about nursery I would be released, and I was. But all is not lost. I got put in the Primary Presidency and I am so excited about it. My good friend, Melinda, who is the president came up with this brilliant idea of the primary kids getting "mail".
So we made a mailbox. The kids will get post cards for their birthdays and cards for the assignments for the following week (talk, scripture, pray, etc.).
The kids are loving it and so are we. I love great ideas and seeing them happen.


I also labeled just about everything else! :) I just thought they turned out cute. We have a cute birthday bucket,


I fun tub for visitors to pick a prize,


We made a name system to let all the kids have a turn, (just 2 crystal light cans glued together with paper around them with the kids names on popsicle sticks)


and we decided to make a "I Chose the Right" jar for when kids share examples of how they chose the right during the week.

I even labeled our supply boxes in the cupboard to help us know what's in them.

This was one of the great ideas the pres came up with. It's a cute boot with a granola bar in it for when we kick kids out of primary and send them on their new adventure! :)

Friday, March 23, 2012

muffin omelets

I've been seeing this idea floating around pintrest and had to try it. It was a fun meal. We actually did it for dinner. (We love breakfast for dinner around here!)

For 12 omelets:
8 eggs whipped up
1/2 C half and half (or milk) whipped with eggs
1-2 teaspoons salt (I always go for more, but my husband likes less) whipped in
Grease your tin cups
Pour in tins
Add your "toppings" into the tins (ham, green or red peppers, spinach, onion...)
Sprinkle your desired cheese on top.
Cook 20-25 min @ 350F
Enjoy!

My husband informed me that a "cupcake" needs frosting....so here's his....ketchup! :)

Thursday, March 22, 2012

egg banner

When I saw this banner of pintrest I knew I just had to make one. I got a book at the thrift store for $.50 for the pages and cute the eggs out on my cricut. I then inked all the edges and glued it together. I simple folded the paper over the twine and stapled it.
LOVE how it looks! and love that it only took like 30 minutes!